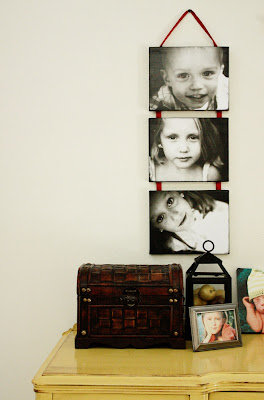
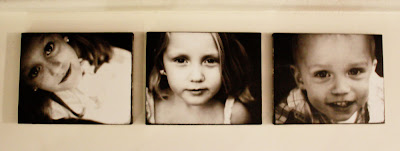
This is what your finished product can look like!
Darling of course, and the perfect gift for those Grandmas and Grandpas, or even yourself!
Mod Podge Photo Tutorial:
Part I
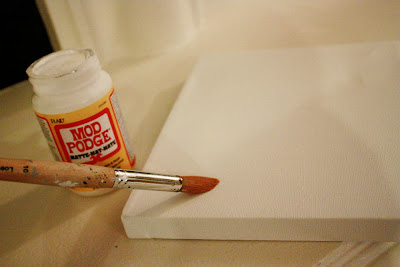
What you will need:
Pre-stretched canvas
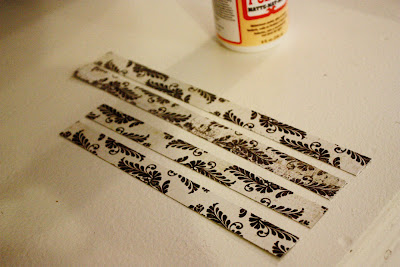
Cute paper pre-cut to fit the sides of your canvas
Cute photo's
Wax Paper
towel
Acrylic/Craft Paint

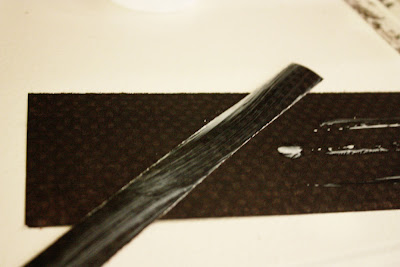
Step 1: Apply a thin coat of mod podge to your entire canvas, sides included.
Step 2: Have your strips ready? If not, cut them to fit on each canvas side while the Mod Podge is drying. My strips were 1/8 of a inch smaller that my measured sides.
Once Mod Podge is Dry, you will re-paint an additional thin layer on one side of your canvas.
I wanted to make sure that my edges would stick, and stick well. So you have an optional step of applying a thin layer of Mod Podge to each strip.
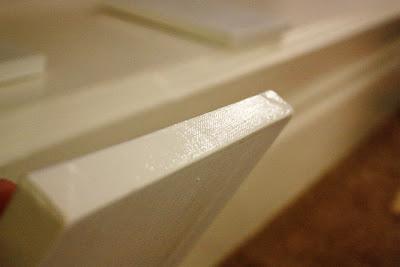
Step 3: Place your strip of paper along the edge of your canvas. Smooth it over with your fingers several times making sure no bubbles form. Repeat step 3 with all sides.
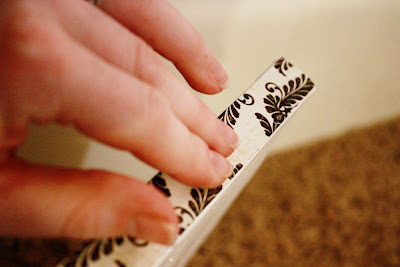
Your edges don't have to meet up exactly together.
You can cover the exposed canvas with paint in a few more steps.

Step 4: Photo Application
If you didn't already tear off a large piece of wax paper, DO IT NOW! Good job.
You will use the wax paper again in a few steps.
I also pre-cut my photo 1/8 inch on each size so that there was no edge overlap.
Place the photo down onto wax paper and apply a good amount of mod podge to the back of your photo. The photo paper is thick enough that it won't pucker or bubble at all.
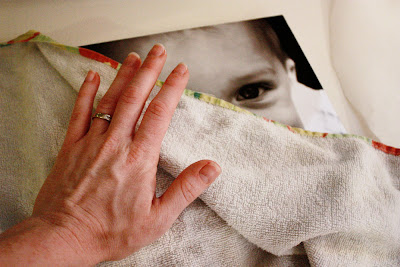
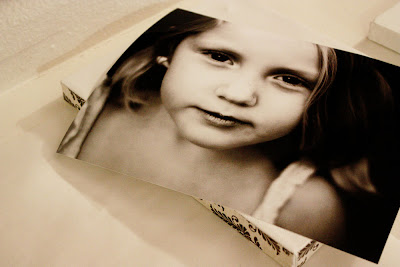
Step 5: Turn the photo over and smooth it onto your canvas.
You can cover the image with a soft towel to do the smoothing. It is easier to smooth a photo onto the canvas with something on top to keep front jerky movements.
Wait about 20 minutes for Mod Podge to dry.
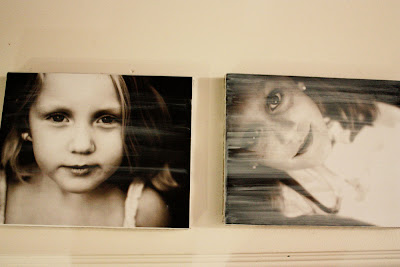
Step 6: Mod Podge the front of the photo. It will look milky white, but remember it dries clear.

The photo on the left is almost dry, the photo on the right was just Mod Podged.
It will take about 20 minutes again for Mod Podge to dry.
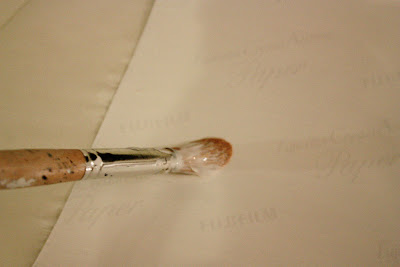
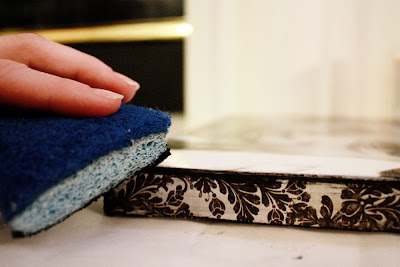
Step 7: Dry Brush (or sponge) Paint Application.
You can use any dry brush or sponge. Make sure the brush or sponge is DRY to get that vintage look. Dip the brush in a small amount of paint, and before you start to apply, wipe your sponge/brush on a paper plate or paper towel so you use a minimal amount. Then dab your sponge/brush along the edge repeatedly until it is as dark as you want.
Voila!

After your photo's look complete, you will want them to dry fully over night. Place your photo canvases face down on your wax paper onto a flat surface. I also like to cover the back of my canvas with heavy books that will press my photo to the canvas even more overnight, this will helps minimize any bubbles or puckering.
Done! You did great! But wait...there's more. ;)
Mod Podge Photo's on Canvas
Part II
What you will need:
Mod Podged Photo's on Canvas
Step 1: Put your canvases in order the way you want them to look on your wall. Also, decide how far apart you want them to be {1 inch, 2 inches...etc}. Multiply that number by 4. Measure your ribbon out to that length. Cut as many as you need for holding up canvases below. For three Canvases you will need four ribbons in this length.
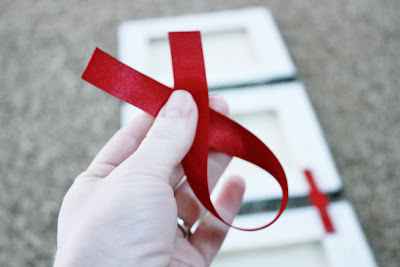
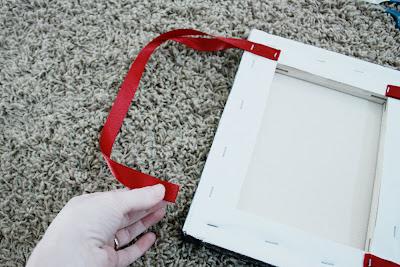
Step 2: Get your ribbon ready to staple.
I like to fold my ribbon with about 1 inch overlap. The double strand will give the ribbon more strength when holding up another photo canvas below.
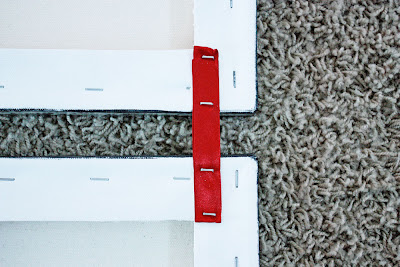
Step 3: Staple your ribbon to your canvas.
I stapled my ribbon 1 inch in from the edge of my canvas.
I used two Staples on top and on bottom for additional strength. Repeat as needed.
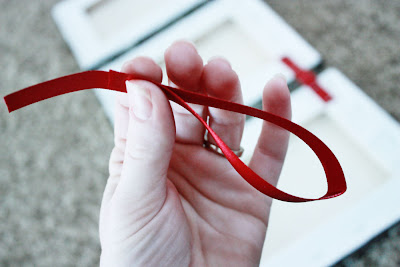
Step 4: The Top
I unraveled my ribbon first to "eyeball" how long I wanted it to be.
Then I cut double that length again for extra strength. Hey, that rhymes!
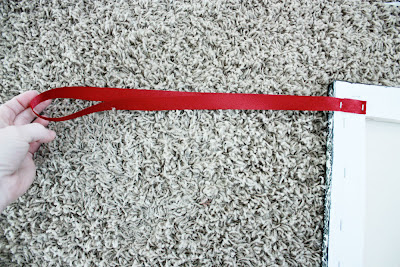
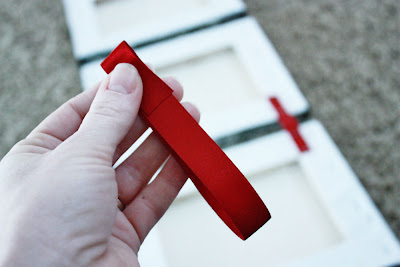
Stretch your ribbon flat, and then fold it over the the other side.
Again, I wanted my ribbon 1 inch from the edge.
Step 5: Staple your ribbon.
I used two staples on each side because I am paranoid.
Now you can hang your finished product! All you need is one cute hook or nail!
Who will you be giving your photo canvas gift to?
Cheers,


 or scissors