Monday, April 11, 2011

Microsuede Ruffled Pillow Tutorial

 I have been craving something new in almost every room in my house.  I finally started and finished a project that I had in my head FOREVER ago.  Bought some Ivory colored microsuede and went to town.

My Materials:
3 yards Microsuede ( Or other fabric)
Ivory thread
Scissors

Step 1:
This tutorial is for a 24 inch pillow.  You can make it for any square size.  Just leave at least one extra inch for the edge!  I started with a square about 25 1/2 inches height and width. Cut 1 piece.


Step 2:
Then I cut 1 Piece of Each of these measurements:
20 in x 25 in
and
8 in x 25 in

These two pieces will overlap and become the back of the pillow.


Step 3:
Fold the edges of the rectangular cuts (the back pillow pieces) 2 times and top stitch, 5/8 of an inch.
This way no raw edge is showing at all.
You can see below, the perfect square is above and the two rectangular pieces forming the back of the pillow are below in the picture (overlapped, so that you can see the pillow front and back is the same width).  


Step 4:
Prepare your ruffling strips
Cut 3 pieces of fabric
5 in x 50 in
The strip for ruffling should start out twice as long as the pillow front piece.
You can cut off extra if you don't use it.  Better to have too much than too little.

Fold the strip in half and sew along the raw edges, 5/8 of an inch.


Before and After of strip that is sewn.


Step 5:
Turn your strip inside out!

I use the Safety Pin Method taught to me by my Granny.
Poke the pin through one end.


Place the closed Safety Pin in the opening of the strip.


Scrunch the Safety pin, and keep scrunching while moving the pin all the way through the strip.


Bring it out of the other end!  
Slide the remaining fabric until the entire strip is now hemmed on the inside!
Tricky tricky.


Step 6: Placement
I put my unruffled strips on top of my pillow to get a feel for where I wanted them to be for my finished product.  Even though the picture has the strip only about an inch from the edge of the fabric square, 
I ended up starting my first ruffle 3 inches from the edge.


Step 7:
Sew the edge of the strip to the edge of the pillow, with the strips seam side down.
1/4 of an inch.


Step 8:
Start ruffling!
I place the needle dead center on my strip.
Scrunch the fabric as you sew...
There is no rhyme or reason, 
Just go slow so that you can get as many, (or as little) ruffles as you wish.


One strip done!
Sew the ruffled strip to the front pillow piece of fabric 1/4 inch from the edge.
Cut off the remainder of the strip.


Repeat Steps 6, 7 and 8 for your remaining ruffles
I placed my ruffles 1 inch apart from end to end.
Make sure you pause to see if the fabric strips are shifting away from each other.


2 down, 1 to go!


And Three's a charm!


Step 9:
With the ruffled square piece of fabric done, you are ready to turn it into a pillow!
With right sides together, place the small rectangular piece, matching up the edges.
Then place the larger rectangular piece on top.
Pin the edges together.


Step 10:
Sew the pillow together on all 4 edges
I sewed mine 5/8 of an inch from the edge.


Trim the corners.
(This is so that when you pillow is right side out the corners aren't so bulky).


Pink all 4 edges for fray resistance.


Now, flip your pillow inside out! 


Place your pillow form inside!


Voila!  You are done!
 

My pillow form was extra puffy, and the back remained a little bit open,
so I quickly came up with a solution.

Ties for the back of your pillow (optional)
Cut 2 strips of fabric
1 1/2 inches x 20 inches 

Fold each edge in so that both raw edges meet in the center.


Fold again, and top stitch right at the open edge.


When your ties are sewn, cut each in half to make four(4) - 10 inch long strips.
On one of the unfinished edges on each strip, you can either tie a knot, or fold twice and top stitch.
Pin the other end of each strip onto your pillow back, folding the raw edge under.  Match up two strips (one on top, one on bottom) so that they will tie evenly and securely.  Stitch them to the pillow back.


After all 4 strips are sewn, tie them up!


I am posting this rather late, and it has been a while since my last tutorial.
All comments, and/or questions are welcome!

Happy Ruffling and Pillow Throwing!

                                                                 Cheers,


Tuesday, March 22, 2011

Quilts for Japan

There are hundreds, even thousands of efforts starting up to help the people of Japan.
Most of them are donations for money, which is much needed.  But heaven knows cash is a little scarce these days.

A wonderful reader let me know of this blog Flip Flop Mama.  The writer of the blog, Jamie, has posted a great way to give to Japan of a collection of fabric that some women are putting together.    They are trying to collect fabric for making tied quilts to send to Japan as soon as possible.  Since they are in the collection phase, this is a great chance for you to help!

They will take any size fabric, preferably cotton.  I have many fabric samples, fat quarters, or even scraps that could add to any quilt.  Look around your house!  Maybe you even have a cute pillow case that you never use...

If you are interested in donating, email Jamie at flipflopmamablog@gmail.com.  
I hope this will inspire you of other ways we can help!

                                                                                             Cheers,

Friday, March 18, 2011

{Green} Banana Bread

Yesterday...
We had an entire bunch of a-bit-too-ripe banana's to use.  Sassy had been telling me about the Betty Crocker site and all of the awesome recipe's that I can use my pancake mix for (other than to make pancakes).  The closest recipe I found was a Blueberry Banana Bread...which sounded so good.  But I didn't have any blueberry's.  I googled and searched a bit more and found this recipe.  It was really easy.  Not as good as my grandma's banana bread, but a simple alternative to using up that pancake mix before it expires!

I mixed it, I cooked it, we ate it...
When we cut open the second loaf, we discovered a surprise from Lucky the Leprechaun,
He turned it Green!


Naughty Leprechaun.
Until next year Lucky...

                                                                  Cheers,

Thursday, March 17, 2011

Happy Saint Patrick's Day! {and a GIVEAWAY winner}

CONGRATULATIONS to Lucky comment number 7
(Courtesy of Random.org)

JESSICA @ My World Made By Hand!

Come on Down...You are the winner of this adorable necklace!
Please email us at thesassypepper@gmail.com.
Thank you to all who entered.

In honor of Saint Patty's day (and in the spirit of serving),
here are some amazing green-in-color Etsy finds that also help the Japan Earthquake/Tsunami Relief.


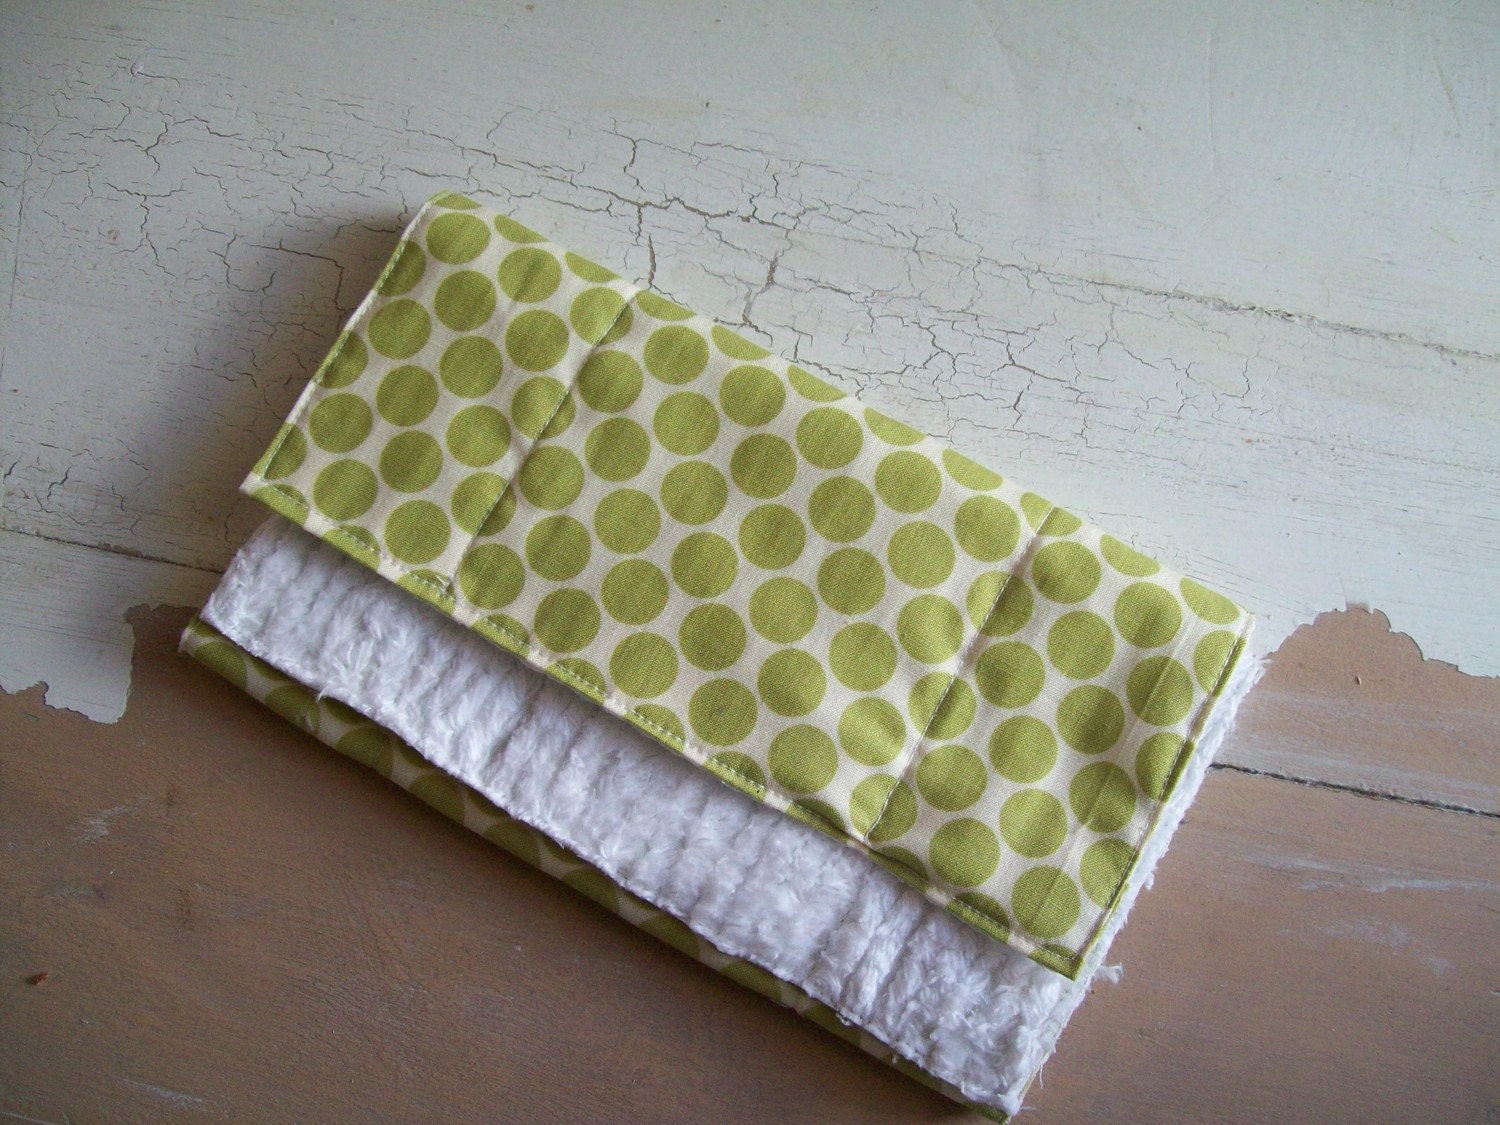
Green Polka Dot Burpee Cloth ALL PROCEEDS GO TOWARDS JAPAN RELIEF EFFORTS


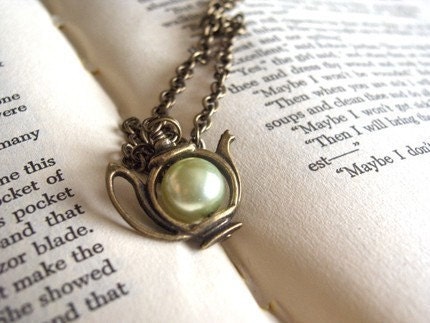
JAPAN Relief - Green Tea


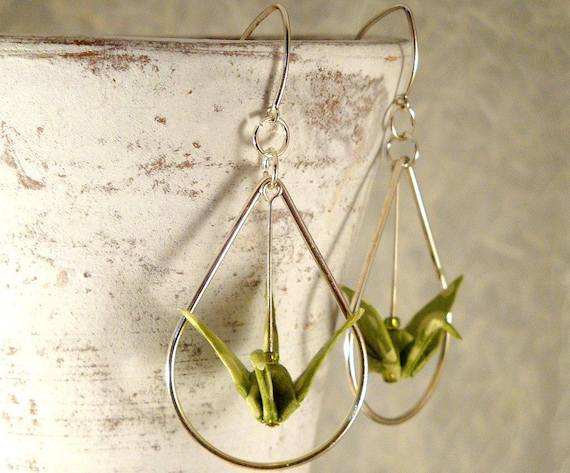
Japan Earthquake Tsunami Nuclear Disaster Relief Lime Green Crane in Sterling Hoop


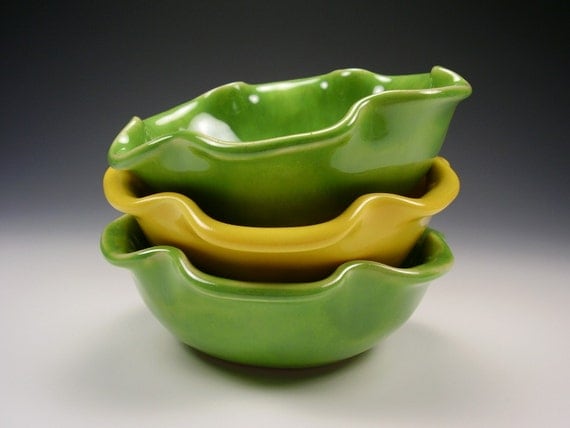
Japan Earthquake Tsunami Relief...Oak Leaf Ruffle Bowl...Ready To Ship

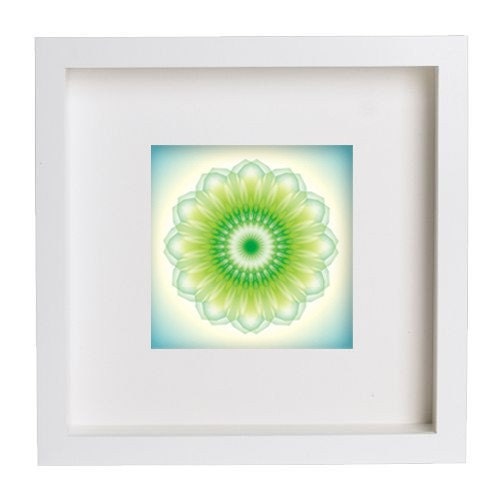
JAPAN EARTHQUAKE RELIEF - Harmony - 7x7 Mandala Fractal Art Print

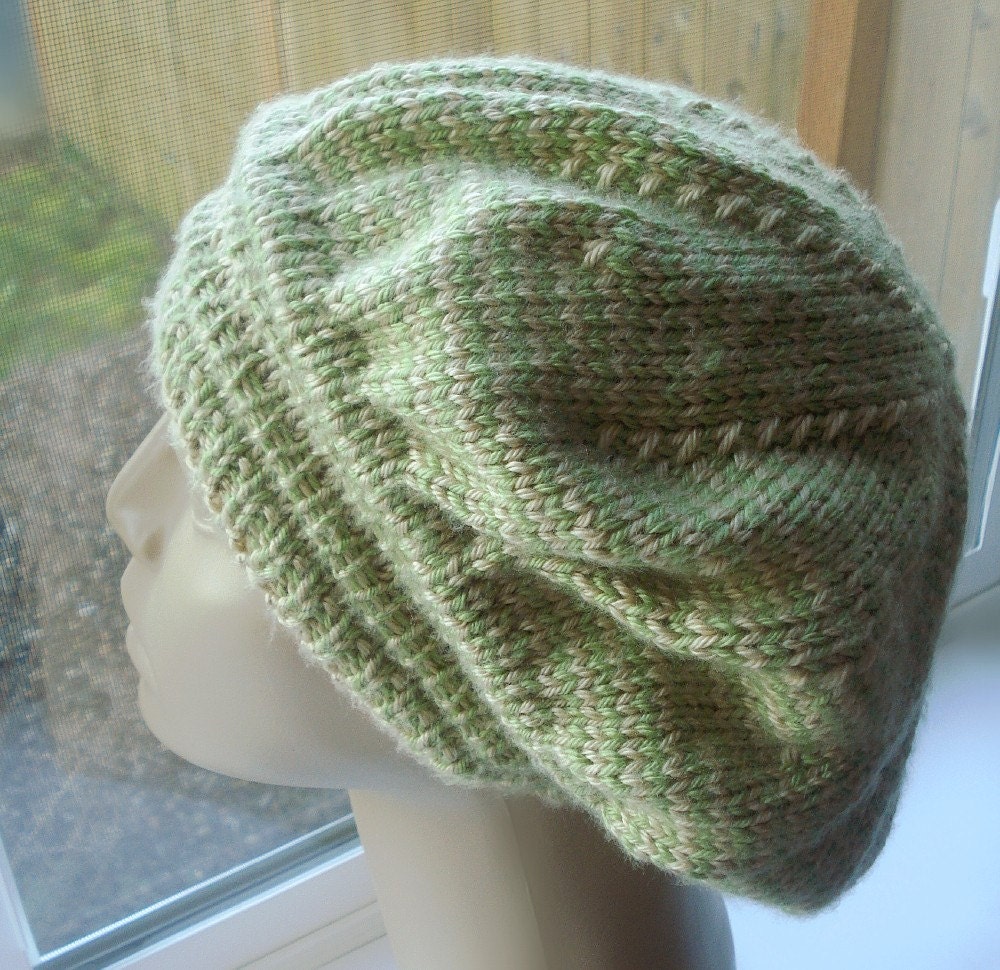
Beige and Pistachio OOAK Slouch Hat - 50% all Sales to Help Red Cross Disaster Relief in Japan


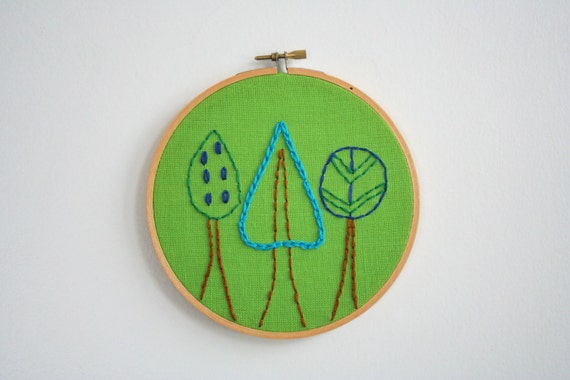
Three Trees - JAPAN RELIEF


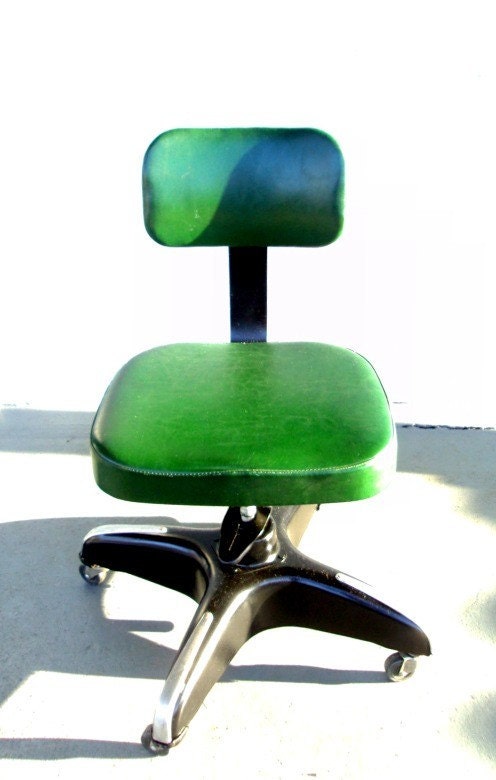
Tsunami Relief - Vintage Mid Century Modern Cole Steel Swivel Chair - 10% of Sale to Tsunami Japan


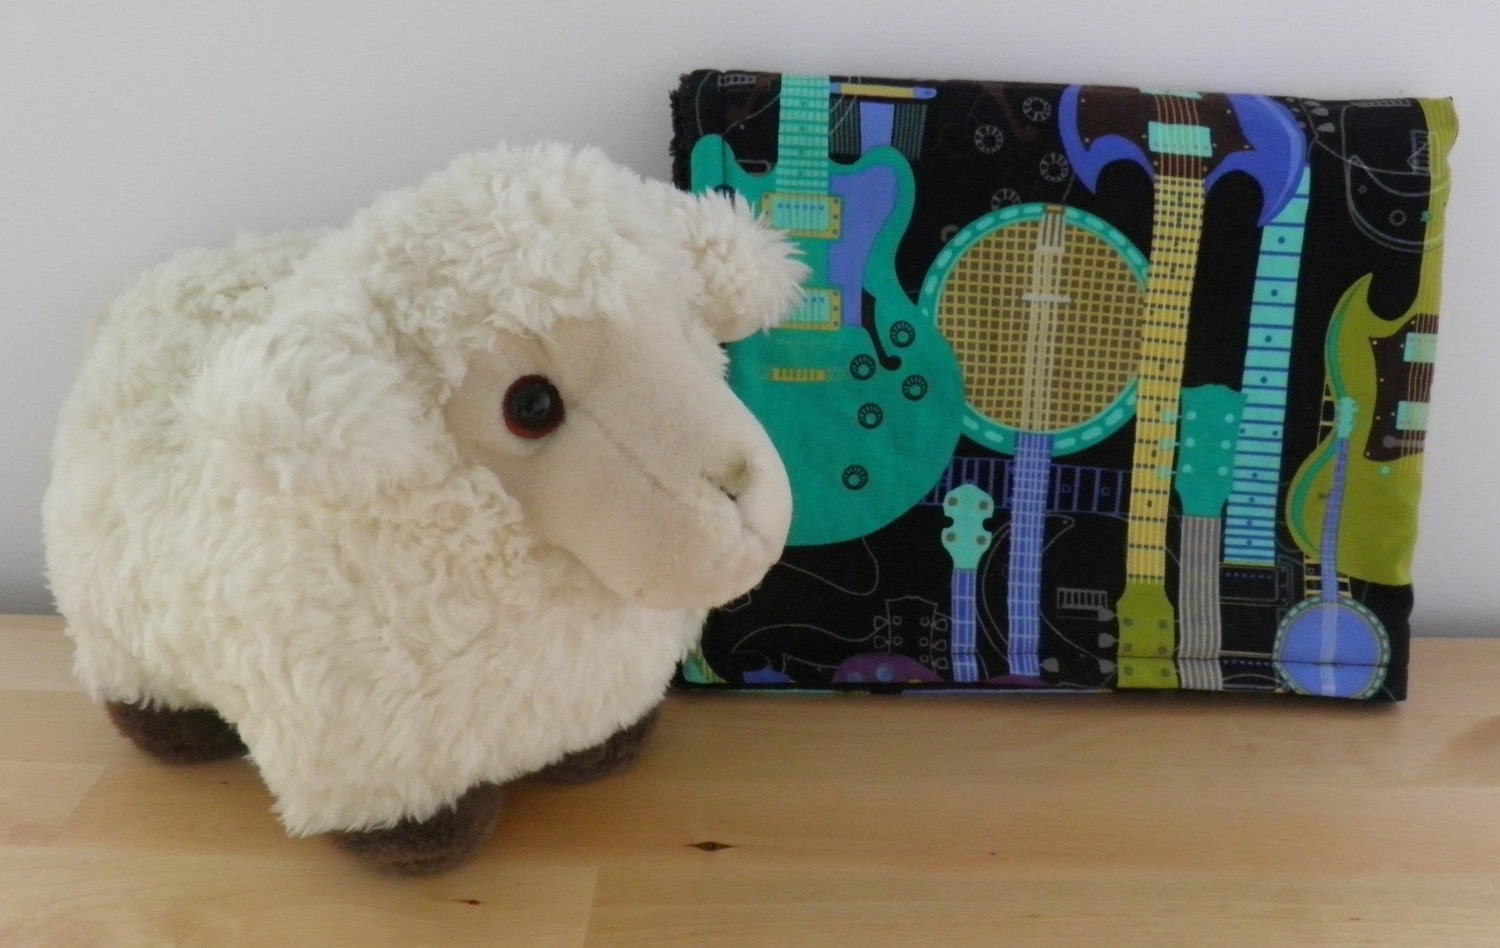
Little Rockstar ... Minky Blankie/Lovie/Security Blanket/Car Seat Blanket - ready to ship - FREE SHIPPING (50% will be donated to Japan disaster relief)


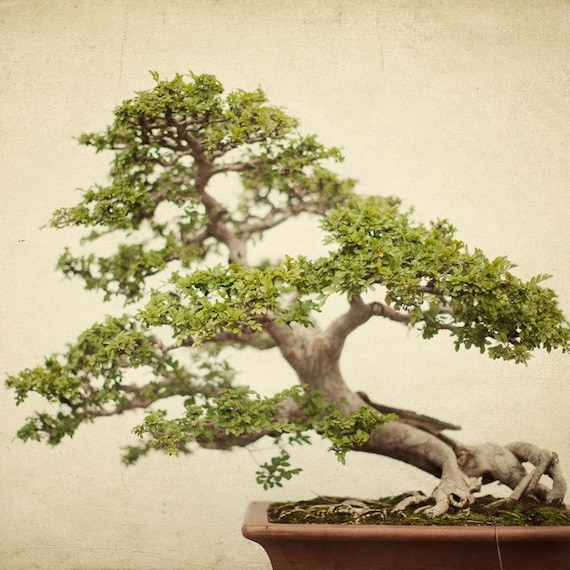
Disaster Relief Japan - Your moment of zen - A serene fine art bonsai photograph

Why not buy something and help someone at the same time?

                                                               Cheers,

Tuesday, March 15, 2011

Japan Relief Efforts

Waves of tsunami hit residences after a powerful earthquake in Natori, Miyagi prefecture (state), Japan, Friday, March 11, 2011.  The largest earthqua

Picture from Yahoo Japan Relief Effort Page

Sometimes in the crafting world I feel like I live in a bubble and don't know what is going on outside.  The recent disasters in Japan are heartbreaking.  Sassy shared this video with me that shows just some of what was destroyed in a matter of minutes.  In the beginning it doesn't seem like much damage will happen, but by the end of 7 minutes, cars, boats and houses are flipped and dragged blocks and I am sure even miles away from where they should have stayed.

http://www.youtube.com/watch?v=9TkBjLbabfU

I recently read a few articles about relief efforts.  One was about "fake" efforts that are on the web.  They are websites that look like the real thing but are just a hoax, and your money never actually aids in the relief at all.  Some of them even use similar names to the American Redcross, Salvation Army, Save the Children etc.  It is so sad to me how greedy people are that they would take advantage of people in such distress, and in reality steal from them.  So please be careful where you donate.

Luckily, YAHOO has made it easy with a link right up at the top of their site.  You can click here for a list of aid reliefs that will reach Japan and make a difference.  I couldn't donate much, but a little goes a long way.  Just imagine if every crafter donated just $5.00 or $10.00.  There are hundreds of thousands if not millions of us in the crafting world.

Cheers to rebuilding Japan,