Monday, April 30, 2012

Just Slip on a New Lamp Shade! {Tutorial}

I have had a bare naked lamp base sitting in my garage getting dusty for AGES.  I don't know why I never threw it away.  I have wanted to recover it, but all of the tutorials on how to recover a lamp shade required big scary clamps and waiting over night, and I am just not that fussy with certain projects.
I am glad I held onto it when I got bright idea a few days ago!


One evening I was getting ready to go on a date with my husband... and I slipped on a skirt.
While slipping on the skirt I envisioned "slipping" a new lampshade onto my bare naked lamp base!
It was almost exciting enough to cancel my date with Mr. Pepper and get to work!  But we still went out, and I had an amazing Mexican meal that night.  What is funny is I didn't even wear the skirt.

BRILLIANT!  I mean truly, could I have thought of anything more smart?

What you will need:
Bare Naked Lamp Shade
Hot glue gun/glue sticks
Sewing machine
Cute fabric

Step 1: Make sure your lamp shade base it naked.
Remove all fabric, ribbon, lining etc.


Step 2: Make a pattern! 
My lamp shade was separated with small metal sticks into 6 equal parts which made it easier.  If you have a single circular lamp shade it may be a bit more tricky.  I simply measured a piece of paper against the shade, and cut the paper to shape until I was satisfied.  I kept my pattern 1/4 inch wider than my measured section on the sides, and 2 inches extra on the top and bottom.


Step 3: Cut out one piece of fabric.
Cut one piece to fit your pattern and measure it against your lamp.
If it seems to work, cut out your remaining pieces.  Because my fabric was a print, I tried to make sure that the top and bottom of my fabric pieces began at roughly the same section of the printed fabric.


Step 4: Sew your pieces together!
This will make your lamp shade that you will slide on soon!


Step 5: Slide your lamp shade onto your lamp base!  
This is your chance to measure to make sure it can be pulled tight and smooth.
Mine was a little loose, so I sewed another 1/8 inch on each seam to tighten it up a bit.
The extra length on your shade will be helpful here.


Step 6: Clean it up.
Cut off all hanging threads, and even up your top and bottom. 


Step 7: Glue it!
Start with the top.  I glued mine at each metal intersection first.


After I glued each intersection, I then glued the middle and smoothed it out.


My shade has crossbars where the shade attached to the actual lamp.
I slit the fabric just enough to glue it down smoothly over those bars. (below)


Step 8: Repeat on the bottom
After gluing the top, flip your shade upside down and trim up the bottom.
Now glue the bottom!


Step 9: Light it up!


Bare Naked No More!


Overall this project was so easy!  It makes me happy to see my shade all dressed up. 
And since I change my mind often with decor options, I know I can do it again in the future!

Cheers, 


Friday, April 27, 2012

Basil Mint Lemonade

Last week my house smelled like a lemony delicious wonderland while I slaved away on a large batch of Basil Mint Lemonade! Fresh lemons from the tree in my backyard, basil off the plant; the only thing I had to buy was a small bunch of mint. After tasting this scrumptiousness, I think I'll start growing mint too!

This is my own freshly contrived recipe. I promise it will knock the socks off your BBQ/baby shower guests this summer (and forever, because you're going to love it).

Basil Mint Lemonade
Basil Mint Lemon Syrup*
  • 3 cups packed fresh basil sprigs
  • 2 cups packed fresh mint leaves
  • 5 cups water
  • 2.5 cups sugar
  • 12 large (4"x1") strips of lemon zest, or the equivalent if you have smaller lemons
Place all ingredients in a large pot and boil on medium-high, stirring until the sugar has dissolved. Cover and remove from heat. Allow the ingredients to steep at room temperature for 1 hour, then move to an air-tight container and refrigerate until cold (1-2 hours). Strain the syrup through a sieve, pressing hard to reserve as much syrup as possible, then discard the solids.

Basil Mint Lemonade
  • 2 cups basil mint lemon syrup
  • 2 cups cold water
  • 2 cups ice cubes
  • 1 1/4 cups fresh lemon juice

Stir all ingredients together until mixed. Serve over ice in tall glasses and garnish with fresh basil, mint leaves, lemon zest strips, or lemon slices. Makes one tall pitcher of lemonade. 

*One batch of Basil Mint Lemon Syrup will make three large pitchers of Basil Mint Lemonade!


There is nothing more refreshing than fresh squeezed lemonade on a toasty hot day. Yum! Whip some up and let The Sassy Pepper know what you think. I predict you will love it.

Enjoy!


Thursday, April 26, 2012

Pin-tastic Weather

The weather here in sunny California has been all over the place.  Sunny, rainy, windy, hot, cold, and oh the allergies.  In hopes of bringing more good weather vibes I am posting some fantastic things I found when I searched "weather" on Pinterest!

Let the rain inspire a palette for a room in your home!


Check out this adorable weather calendar by


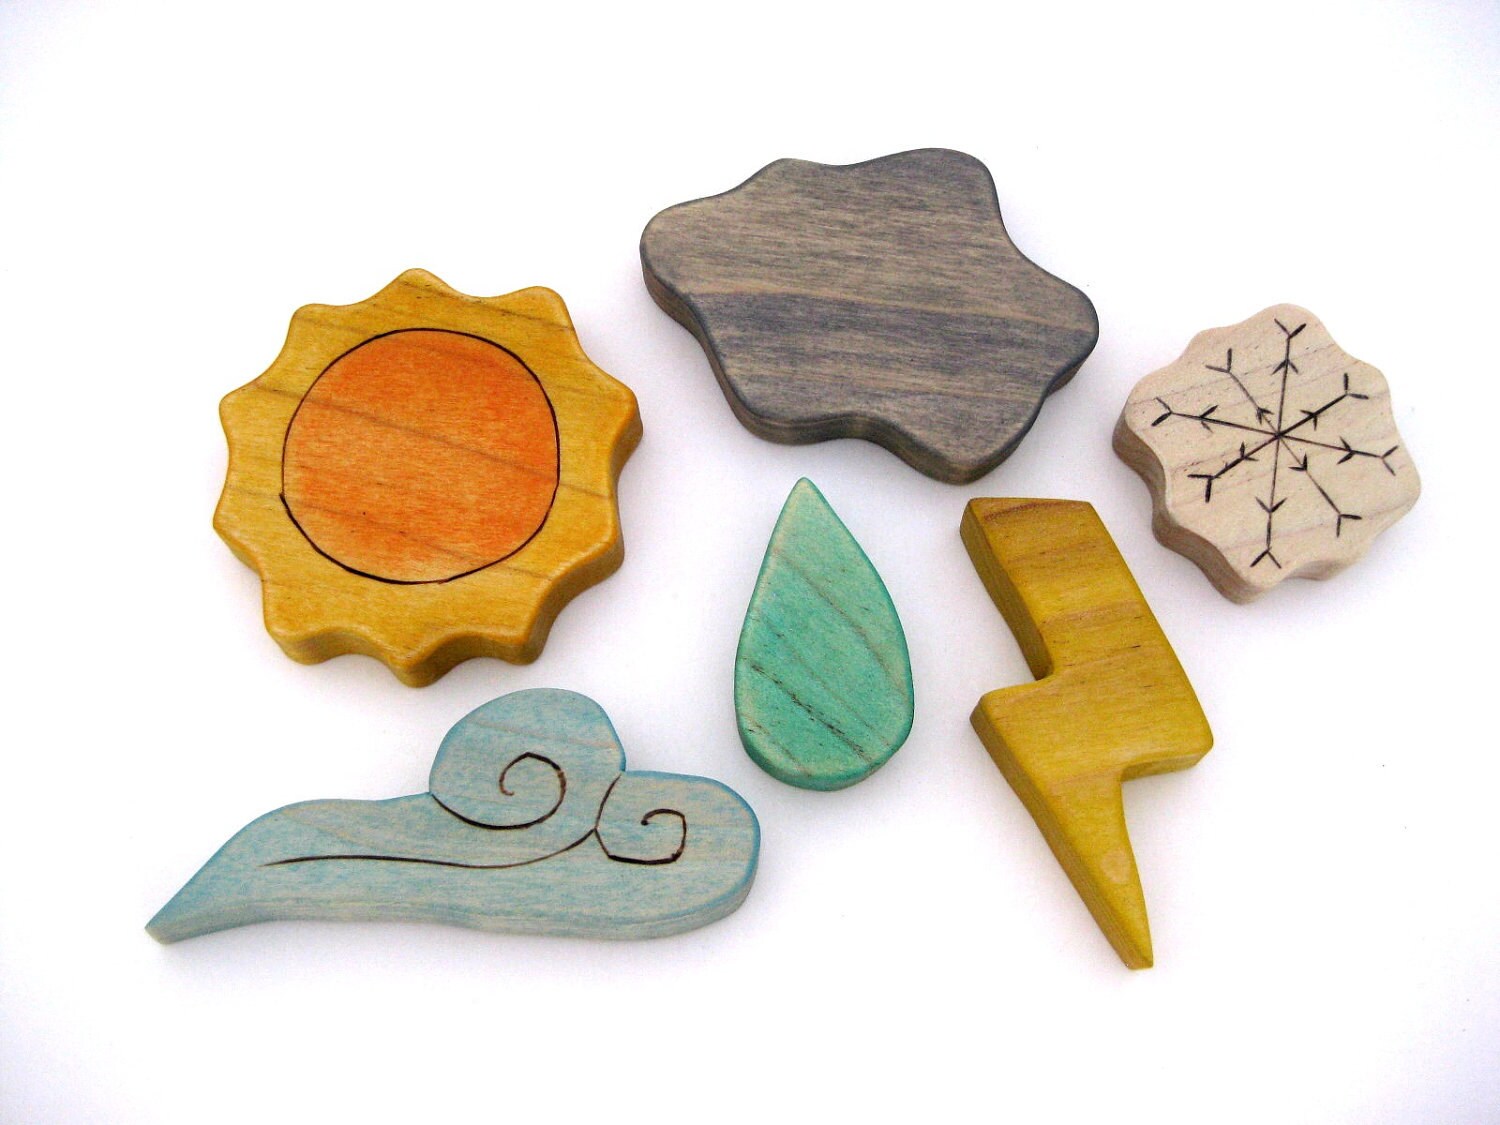
Let your kids learn and play at the same time with this weather block set by 

Weather Montessori Wood Toy Set - Waldorf Wooden Toy

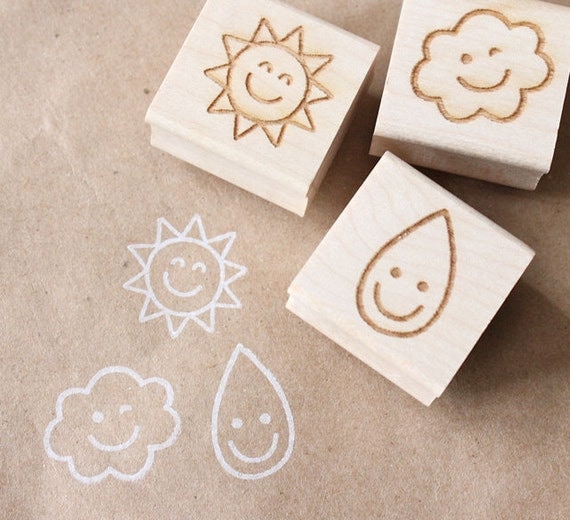
Or make some fun weather crafts with this rubber stamp set by

nice weather - wooden rubber stamp set

What kind of weather are you having?  Or better yet, what kind of weather are you wishing for?

Cheers, 


Wednesday, April 25, 2012

The Upholstered Chair Project

Well, there is also another way to paint upholstery.  It takes more time, but the outcome is worth it.
If Simply Spray would have had the color I wanted this chair, I would have used it.  It was so much easier...but I needed just the right color of gray.


I have wanted a wing back chair for soooooooo long.
When I saw a pair on Craigslist for $60, I jumped at the opportunity.
Unfortunately when I got the chairs back home, they didn't seem as cute, 
and they were actually really dirty.  It sort of grossed me out.

I saw a post a while back by Emily Clark on painting upholstery.
If she could do it, I should have the guts to go ahead and do it too!

What you need:
1 soon to be Cute Chair (Or any piece of upholstered furniture)
1 Quart of Latex Water Based Paint
1 Spray Bottle full of water
1 - 2 inch paint brush
A few rags

Step 1: Clean your chair as good as you can.  I used an upholstery cleaner on the arms and the top of the chair where it seemed soiled, and I washed the cushion cover on gentle in the washing machine.  There were still stains, but it felt clean, and was ready to paint!


Step 2: Mix 1:1 parts of your latex paint and your fabric medium.
The fabric medium is what keeps the paint from becoming too hard and crunchy.
The color I used was Seal Gray by Behr.

Step 3: Water down your mixture.  Mix in 1/2 as much water as you have paint.
Mix until the color and consistency seems even.  Keeping it thin and watery will allow the fabric to absorb the color really well.

Step 4: Start the painting process!  I removed my cushion, and started with the chair base itself.
Spray your chair with your water bottle to dampen it and then brush your color right in.  Brush slowly so that you don't splatter all over.  It is okay to get it really wet, I promise your chair will dry.  
Repeat until you see good coverage.  


Step 5:  Use your rag to rub the color in even more!  Rubbing the paint into the fabric will also keep the paint from settling on the top and drying into a crunchy coat.  This is your base coat.  It may or may not give you good coverage depending on what color you are starting and ending with.  Since I was going from white to gray...I had to do more than one coat.


Step 6: Let your chair dry.  I brought in a fan to speed up the process.  
I left my chair for 1/2 a day and then continued.


Step 7: Once chair is dry, embellish!  I fancied mine up with freshly painted legs and nail-heads!

Note: When adding nail-heads, do NOT nail them in completely until you have figured out where you want them.  I nailed them in part way to make sure they looked even first.


Even my little Crew boy helped me out!


The finishing touch!  A cute throw blanket and pillow!


 I kept one chair and gave the other to Sassy.  So I am sure you will see another cute chair redo here soon. 

Do you have a project that needs painting?  
Painting upholstery opens up a whole new world!

Cheers,


Tuesday, April 24, 2012

Patio Pretty

Have you seen the prices of patio furniture these days?  Not only are patio sets priced in the hundreds...but more like the thousands if you want something that will last.

The pictures you are about to see, may make you cry.
The weathered wood, the faded cushions... are you teary eyed yet?
I know, they look so sad.  :(


Well, nothing a little spray paint can't fix!


But wait...did you know that you can spray paint upholstery?
YES, you read my comment right, SPRAY PAINT UPHOLSTERY!
I used these products...

SIMPLY SPRAY BRITE RED


And

SIMPLY SPRAY CARIBBEAN BLUE


I started with the seat cushions, painting them Caribbean Blue with my Simply Spray fabric paint.
Then I painted a couple of throw pillows in Brite Red Simply Spray fabric paint.
After those were done, I decided to leave the flower pillows alone!


The Finished Project!


Notes:
The paint does not rub off!  It is completely permanent.  I "test sat" on the cushions to make sure.
I even rubbed them with a wet cloth after 2 days and nothing came off onto the cloth.

This spray paint is AMAZING.  It sprays on so much smoother than any spray paint I have ever used.
You will love it.  I tried a can of Fabric/Vinyl spray paint by Duplicolor and a Fabric/Vinyl by Rustoleum previously,  Simply Spray blew them out of the water!

How much will you need?
I used two cans of Simply Spray for the Red pillows, and all 6 cans of the Caribbean Blue that I ordered.  So, for this patio set, I used 8 cans for the upholstery and 5 cans of Rust-Oleum in Kona Brown Gloss.  
I bought my paint on Amazon at the lowest price I could find for a total revamp of under $100!

I think I will go outside right now and enjoy my little patio!

Cheers,