Friday, May 6, 2011

Little Gal's Dresser

A while back, I saw this amazing blog post on How to Glaze furniture by Show and Tell.  Just the word "Glaze" made me want to try it, and she made it look so easy!  So... I tried it.  And it worked!  It was fun, and messy, and forgiving.  Just my type of project.

This was Little Gal's dresser before the revamp.  Lucky for me it was unfinished solid wood.
That meant easy and light sanding.


After I scuffed up the surface a bit, I drew some swirly branches onto the dresser drawers in pencil.


I got so anxious, that I just started painting right away.  The effect was so neat!  The bare wood added one more dimension to the swirly tree branches, which I originally wanted to paint white.  I decided I would leave them bare!


After the painting, I distressed the dresser.  I used heavy grit sand paper and roughed up corners and edges, bringing out wood tones all over the dresser.  Then came the glazing!  Go and read Show and Tell's post here for detailed instructions.  My favorite thing about the glaze was how it settled into every scratch and hole.


I varnished it with 2 quick coats and then let the dresser cure for 2 days.
After the painting, sanding, glazing and curing we moved it into Little Gal's room!


It was Little Gal's idea to embellish the dresser with vinyl stickers!


And we found these adorable crystal knobs on Ebay.


It was an adorable addition to her bright room!


                                                                  Cheers,


Thursday, May 5, 2011

Happy Cinco De Mayo! Etsy Extravaganza!

Happy Cinco de Mayo!  And Happy Anniversary to me and my guy!
10 years ago, I said "I do" to my Mr. Pepper.
Check out his Elvis sideburns... {sometimes} I miss the late 90's.
Why is he 10 shades darker than me???  Oh, right...I am always pasty white.
Sad.


Also, check out these festive Etsy finds!


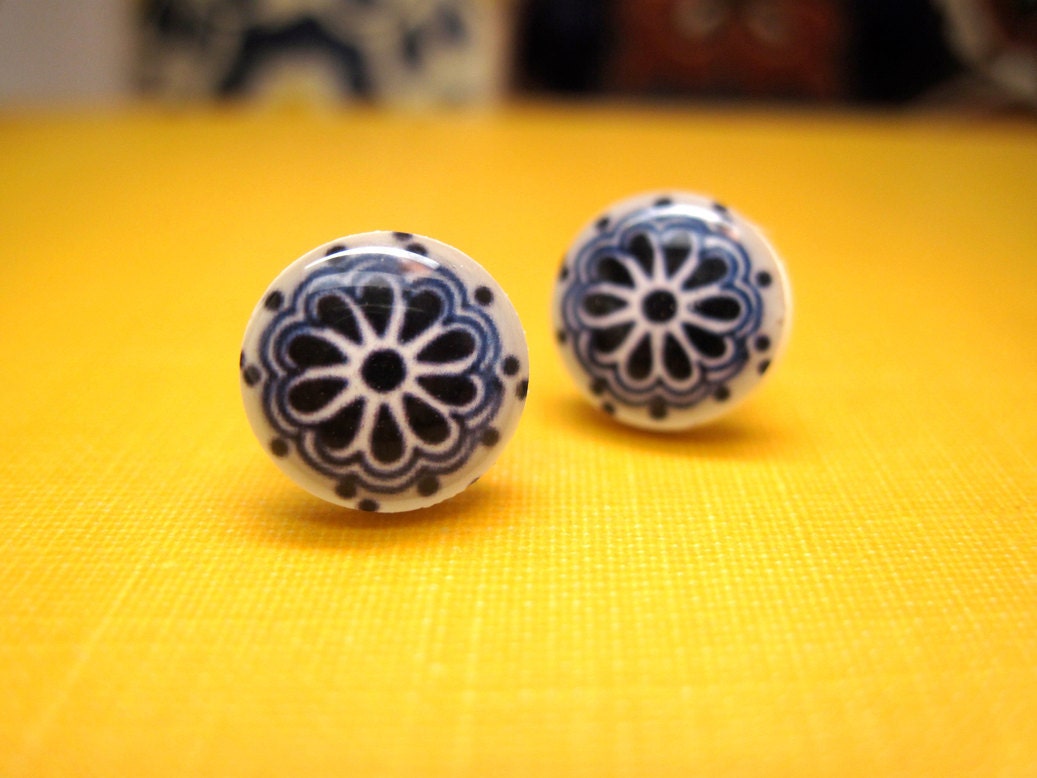
Mexican Talavera tile, miniature Post Earrings


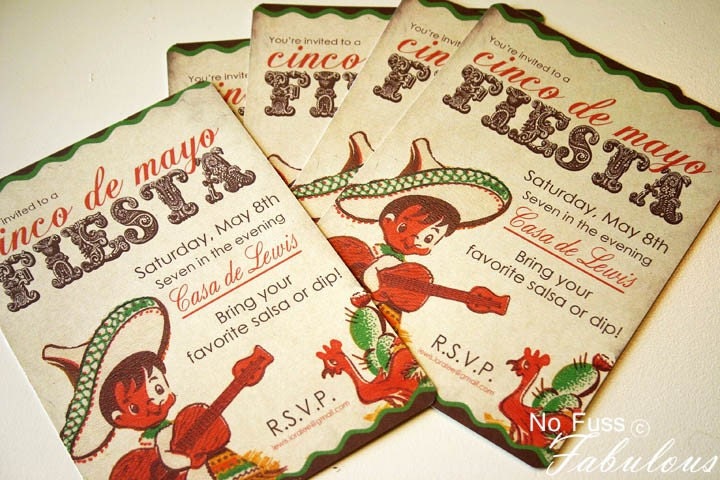
Invitation . Vintage Fiesta Collection . by Loralee Lewis


Reusable Sandwich and Snack Bag Set - Mexican Day Of The Dead On Blue - Eco Friendly Cotton Lunch Bags - Food Storage


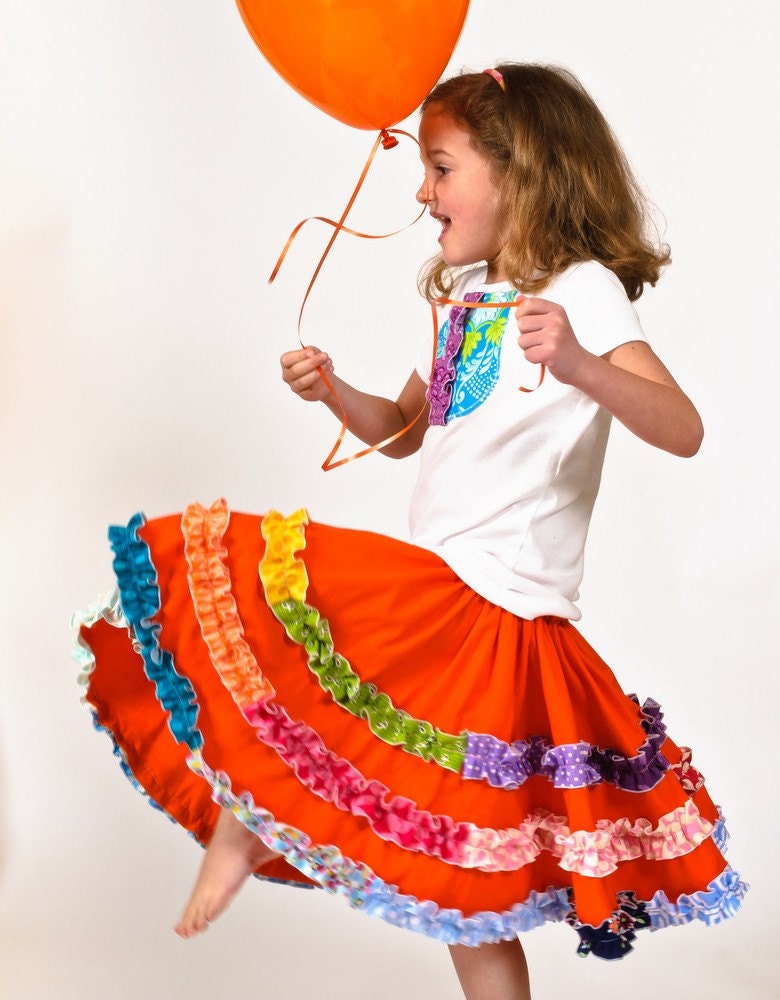
Ruffled Twirl Skirt in Tangerine Orange


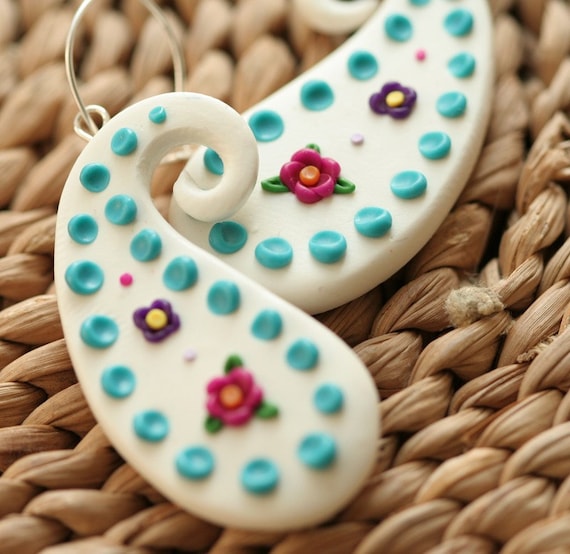
Cinco De Mayo Paisley Earrings


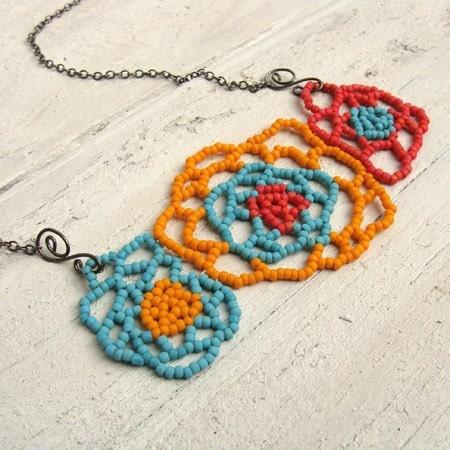
Fiesta Flowers Beadwoven Necklace

This one is hilariously adorable...

Cojones 2T Gray Baby Burnout T Shirt

Wishing you the best in your celebrations!

                                                                 Cheers,


Friday, April 29, 2011

April Showers Bring May Flowers!

I promised many tutorials from the room make-over of Little Gal's room, and here is the first one!
Tissue Paper Flowers!

Sassy did a tutorial on Tissue Puff Balls a while back, and this project is very similar.  The fun part is that tissue puffs and flowers aren't only for birthdays anymore!  I would suggest reading the whole tutorial first so that you don't get confused following each step.  It is super easy, but hard to explain via blog...

What you will need:
Tissue Paper (I used 12 sheets per flower in 3 colors or more)
Scissors


I actually got my tissue paper for this project from the Dollar Tree store!
You can get 25 sheets for $1.00 and they are fairly large (20" x 20").

Step 1:  Decide what colors you want the flower to be.
I am making a hot pink and light pink flower with green leaves and a yellow center.

I used...
3 green sheets
3 light pink sheets
3 hot pink sheets
3 yellow sheets

Step 2: Cut and Fold!
Once you have your color combo decided, you have one more decision to make...
Do you want your edges pointy or rounded?  Accordion fold each color section and then cut the end.  For pointy edges cut each end like a triangle, for rounded edges cut each end like a half circle.
For the yellow center I cut straight lines inward toward the center.


What I did:
3 green - pointy (triangle)
3 light pink - rounded (half circle)
3 hot pink - rounded
3 yellow - 

You will accordion fold each section, and then cut the ends.


Both ends cut (below)


Unfolded it looks like this!


Step 3: Layer it up!
Once you get all of your edges cut, you will layer all of your sheets on top of one another.
I layered mine as: green, hot pink, light pink, yellow.  Also, I wanted my yellow paper to be a "center" to my flower, and so I made it 1 inch shorter on each side to add some depth.


Step 4: Secure with your Pipe Cleaner
Once layered, take your pipe cleaner and wrap it around the center of your folded tissue.
On this flower I looped it at the top (the back of the finished flower) and secured the loop by wrapping the pipe cleaner around itself.  The loop is great for hanging.  


Step 5: Fan it out!
Stretch your accordion folded papers outward to form a circle.


Side view...


Step 6: {Light} Lifting
Lift the paper one sheet at a time toward the center of your flower.
Here is the yellow finished (below)...


Then the light pink...


Then the hot pink...


And the green!


Back view.


Voila!  A Happy fancy girly piece of decor for a party or a room!


Where will you hang your flowers?

Cheers, 


Thursday, April 28, 2011

Flip Flop Mama...

A while back, I posted about Flip Flop Mama holding a fabric fundraiser to collect fabric for quilts to send to Japan.  She is amazing, so amazing that she is having a contest right now on her blog too!

To celebrate her 600th post, she is giving away one of her handmade items in her Etsy shop!

I picked my favorite...so swanky!

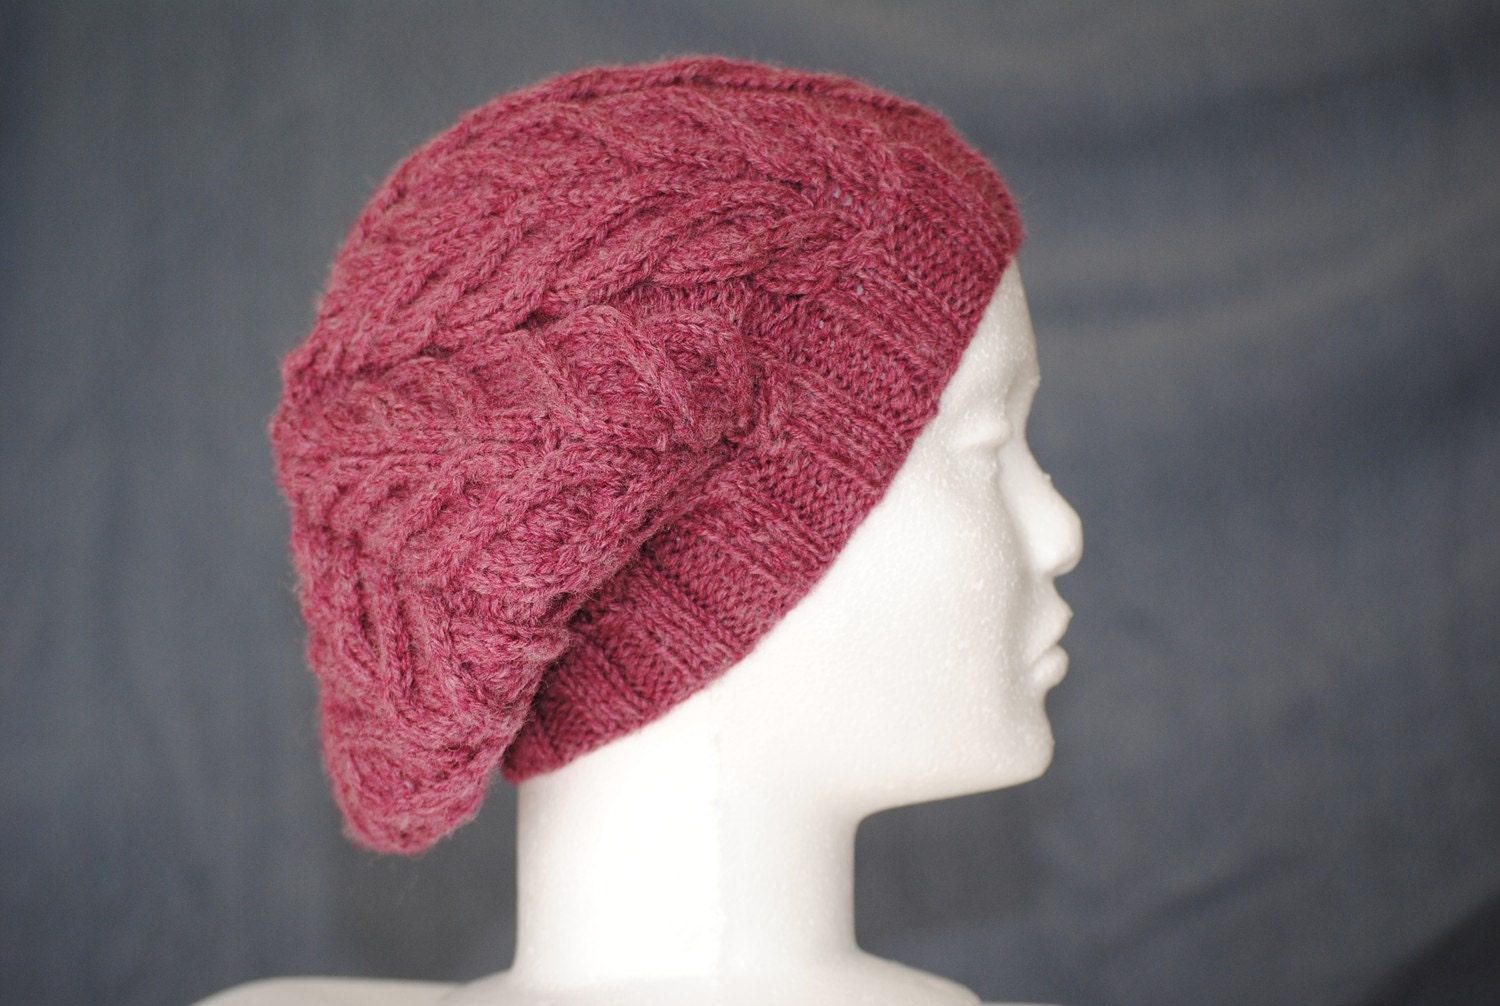
Knitted Slouchy Cabled Hat

What is your pick?

                                                               Cheers,

Tuesday, April 26, 2011

Room Redo!

Little Gal has been asking for her own room forEVER, or... for at least a year now.
My first opinion on the matter was "no way, she is only 8"!  But the sibling rivalry begged to differ.  And so it was decided...Little Gal and Little Sis would split up into their own bedrooms.  It has actually been really great for them to each have their own space.

With much regret...this was her old sad room.
It is sooooo dark and dreary isn't it?
We tried adding some paper flowers to bring some sort of happiness into the poor, dark, sad room. :(


When Little Gal mentioned a bird theme...I almost freaked out.
I had this whole idea in my head of a French room.  What little girl wouldn't love hot pink and Eiffel towers!?!
But, then I thought about how Little Gal loves nature and flowers and trees...and birds are kind of cute.
It was then that I knew it would be perfect for her...and the wheels started turning.

VOILA!
Let me introduce to you, "Romantic Bird Studio"...
Little Gal chose her favorite colors of Hot Pink and Turquoise!


The details all coordinated...
Bird, swirly pink, and yellow fabric (all from Fabric.com) made into a duvet...


Ruffles on a tiny pillow, and bows on the bedding...


Turquoise furniture (DIY), distressed and glazed...


Vinyl Bird Decals (Amazon.com) on the wall and furniture...


Bird cages (Amazon.com) and bird houses...
  

A small floral detailed mirror (Home Goods, $15.99)
  

Vintage Crystal knobs (eBay)...
  

Little Gal now sleeps soundly without the pitter-pat of Little Sis throwing things to the top bunk.
Her room is also the cleanest in the land because she has a place to put everything!

All in all, it was the best thing to give her a room of her own.
I am a little jealous of the hot pink and turquoise, and I don't know how Mr. Pepper would feel about giant paper flowers above our windows, but it works for Little Gal's style!

More good news...I have a boatload of tutorials from the redo!
Stay tuned...

                                                              Cheers,